

I saw a tut on pinterest that I just HAD to do for stained glass window ornaments from glue and paint. They looked so easy and fun... boy was I wrong about that easy part! It was a lot more work than I was expecting! Like, a lot more! It was fun though so it was worth it and I'll probably end up doing some for each holiday, but when I finally finished I said a big "phew!" and was glad to be done! For anyone wanting to try this at home,
Here's what you'll need:
regular glue
wax paper (I just used a large ziplock bag because I had that on hand)
some white string (I used yarn)
some paper and pencil (to draw out your designs)
and some paint (called for water colors but I made my own out of acrylics)
First I drew my designs. I had these big extravagant plans in my head and a few of them I just plain gave up on (like the Santa and penguin!) but my easier designs were ok. I did this part after the boys got into bed and I'm glad I did because it was time consuming and needed all of my concentration! I poured about a 50 cent piece amount of glue into the bottom of a paper bowl. After cutting out the strings, I dipped them in the glue, ran my finger down the length to get any excess off and then went to work on outlining my designs, sticking a dab of glue wherever two strings met. A few of the parts (like the reindeer antlers) were difficult and I ended up using a small piece of tape to help hold them into place while they dried. I also cut a long piece of string and glued it to the top for a hanger.
This is what I woke up to this morning. Very glad everything dried properly! You can see my poor Santa drawing that I gave up on.
 Now cue the boys. Jamesen surprisingly was super willing to do this craft. Maybe it was the paint? Maybe it's because we've done enough crafts together by now that he gets how the whole "let's do a craft!" thing goes? I dunno, but normally he throws a fit and runs away only to come back a few minutes later ready to roll.
I called them over and made the water colors one by one according to which colors they wanted. I just took a bit of paint and mixed it with some water at the bottom of a paper bowl. The boys had fun with the mixing part, haha! Who knew mixing water and paint was so fun? They thought it was great watching it go from a paint blob with water around it to colored water.

Next, I had the boys help me fill each space separately with glue, just enough to fill the space evenly. For grandma, J's in grey and M's in blue.
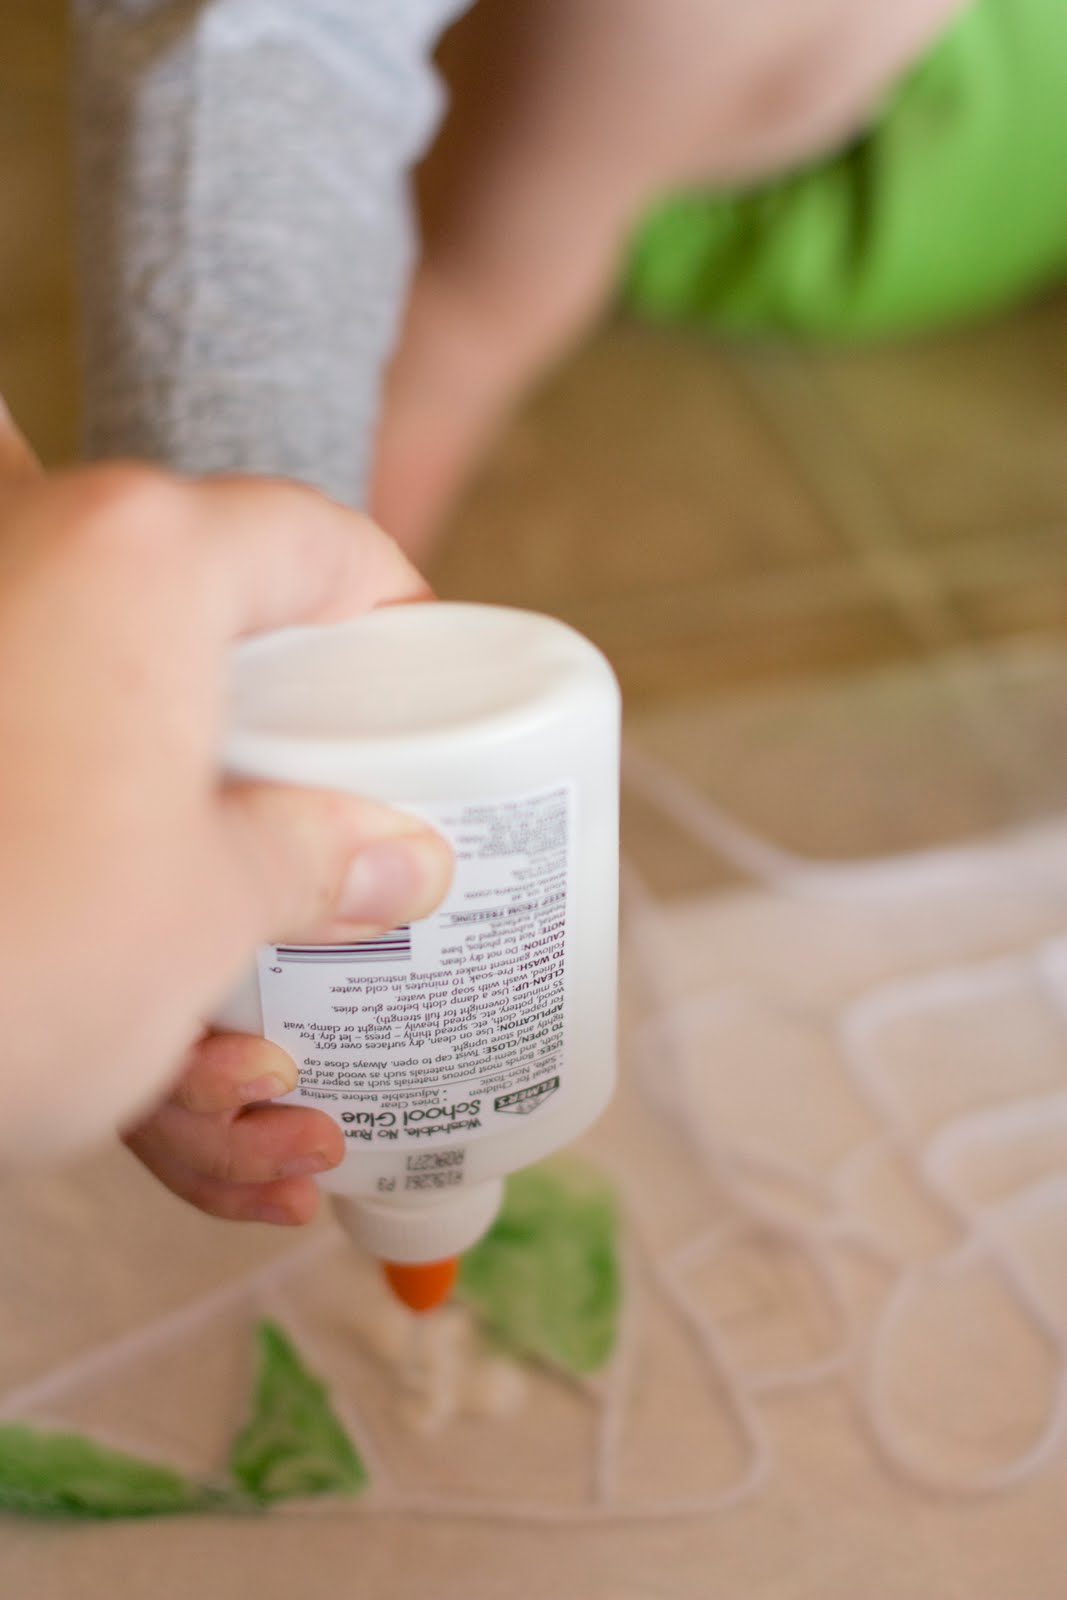

It ended up looking like this when we were done filling it, so I just used the back of a paintbrush (the non brush end) to spread the glue around.

Then again using the back of a paintbrush, I took a couple dabs of the paint and dabbed it on the glue. I started out with just a few dabs and then added more if I needed it. I wanted the color to still be pretty see through, so I didn't want much of it, just enough to see the color.
 And one more time using the back of a paint brush, I let the boys mix the paint. I had to help Jamesen as he was a little bit rough and didn't quite understand that he needed to keep it inside the lines, but Marcus did great! My little champ. I didn't want it completely mixed though, just swirled a bit to give it more of a glassy effect.

I love their little feet and how they sit when they craft me with me, haha! They both got bored before we finished, but I just hurried and did the last little bit to which colors they wanted where. Marcus kept going on and on about purple this, purple that! Purple is his favorite color currently. Jamesen kept called all the colors green, silly boy :) Sure do love them. Anyways, after we got done with the coloring, I set them back in the remote corner they'd been in to dry for a few days.

They took WAY longer to dry than I had expected. The tut I followed said at least 24 hours. I had them dry for 3 days. They would probably dry faster in a drier climate, but being here in some serious humidity might have had a factor in the length of time it took to dry. Once they were completely dry, I slowly and carefully peeled them off the bag and voila! The kids and I are excited though, we have some cute window ornaments hanging up now :)
No comments:
Post a Comment