Saturday, November 10, 2012

Wooden Turkeys

 I've been married to my husband for almost 6 years, but this is the first house we've stayed in for longer than a year. Moving a lot isn't really conducive to collecting decorations for the holidays, so for Halloween, I went a bit nuts. Then Halloween came and went and I haven't wanted to take down my Halloween decor because I don't have any Thanksgiving stuff! 

I decided to remedy that. A bit ago I went to a local craft store and bought some stuff to make some turkeys. Here's my supply list: 


 Paint and supplies
feathers
googly eyes
orange pipe cleaner
wooden circles in two different sizes

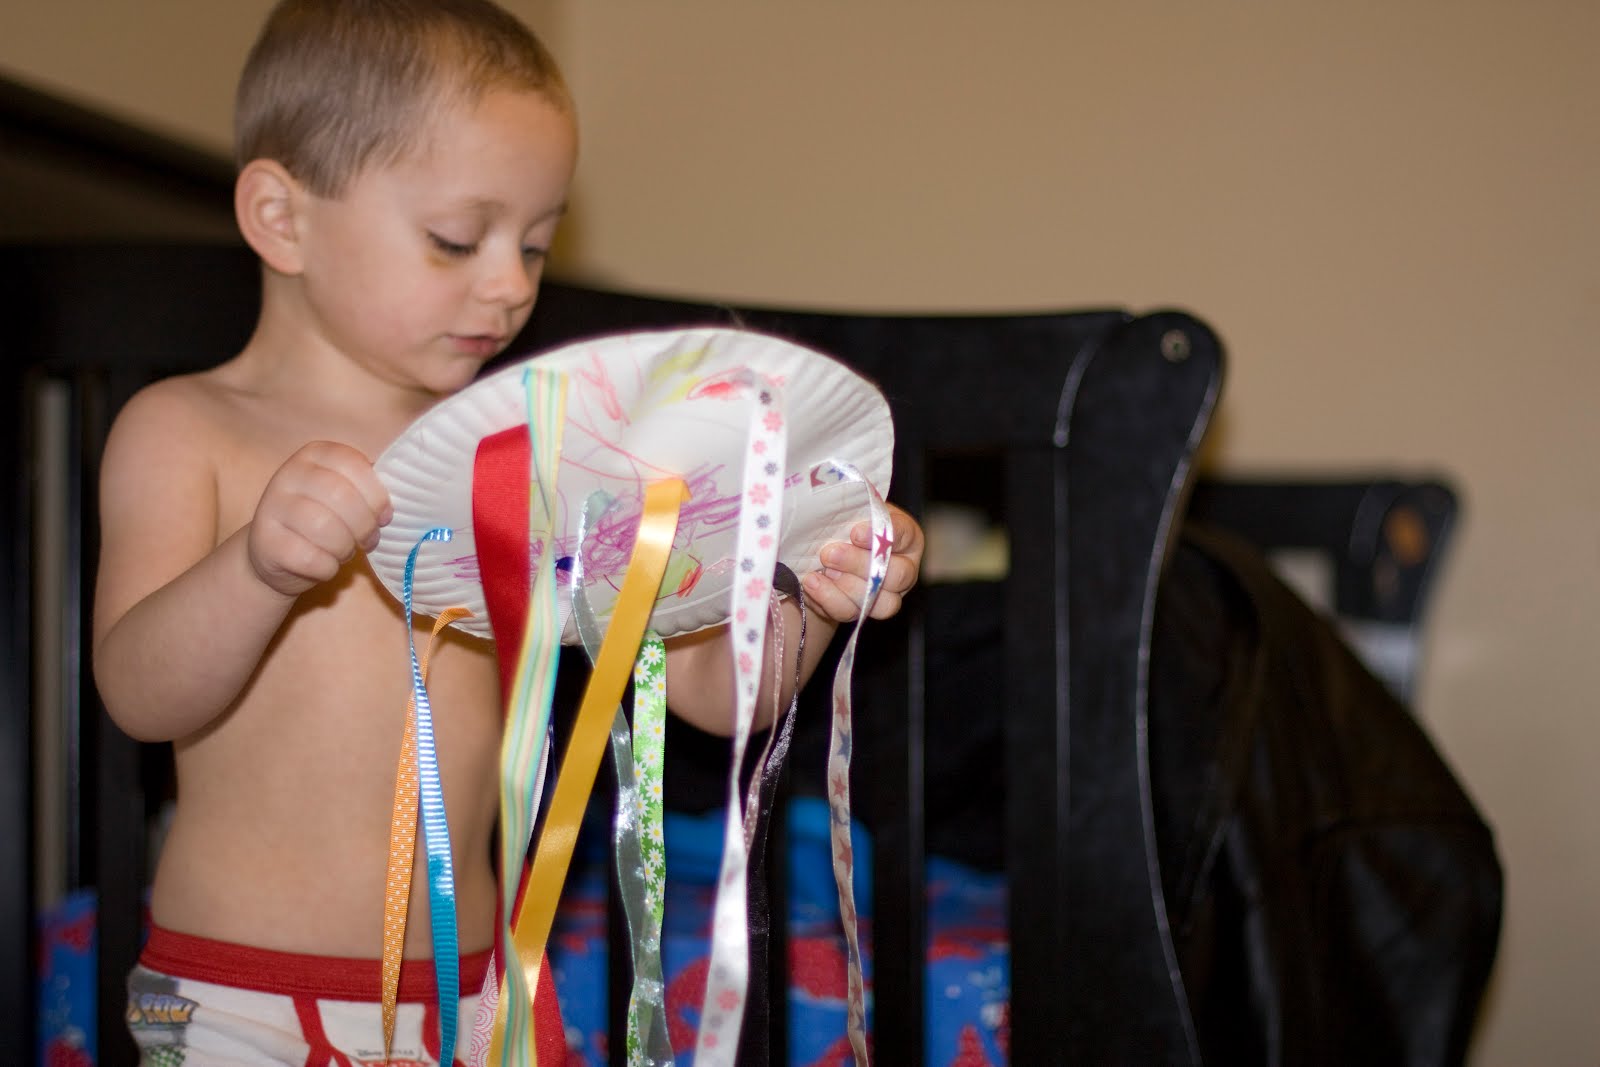
My boys are always stoked to be painting so it wasn't hard to get them to participate. Jamesen mixed all of his paint together while painting and Marcus decided to do his multi colored.


 As you can see, they both loved it.


 When they were done painting, we let them sit and dry for about 2 hours.


 Normally I would use wood or craft glue, I was being lazy and wanted to just finish them and put them up so I used hot glue instead.. I glued the circles together first, then the eyes. I made a beak and feet out of the pipe cleaner and then we stuck on the feathers.


 Look how proud they are!


 Maybe I'll get around to taking down my Halloween decor now? We'll see.


Tuesday, October 16, 2012

Duct Tape Treasure Chest Toy Box

I was wandering Pinterest and found a pin about someone using decorative duct tape to spruce up a diaper box to use for storage. I've been wanting to get the boys a toy box for a long time but all the ones that are cheap enough for cheap me to even consider were tiny.  So I decided to make them one using that same method. 


My supply list: 
2 boxes of similar size
scissors
2 colors of duct tape
poster board
packing tape

I started with the box that would be the toy box. My first step was to cut one of the larger flaps off and tape it to the other one so that there was a piece of box going all the way across the top. 


My next step was  to tape the poster board over the top so that it arched.


Then I took the flaps off the other box and cut a few 2 inch strips to attach to the top to make it more like a lid. It took a lot of packing tape to get to lay right, but it fits perfectly!

Next I laid the treasure chest on it's side on the other box and cut out shapes for the sides to help the lid hold it's shape better. Be careful when you tape it on! Make sure it opens and shuts easily still.

Then I began taping with duct tape. I started with the sides of the lid and then the lid itself so that the ends could be hidden under tape going the other direction. Make sure the lid is closed while you tape it so that it has enough slack to open and shut! After the lid, I did the bottom and then I went around the sides. I started the strips in the back so you wouldn't see where the tape started and ended .

All finished! Phew!

I also taped the other flaps inside of the box down so they wouldn't get in the way of toys.

Then I added some gold accents on to make it look more like a treasure chest.

Last thing was to make a little lock out of the tape and tape it on the lid. Voila! finished product!


And that's it! Easy but a bit time consuming. I love how it turned out though :)

Thursday, October 11, 2012

Cup Monster

We made some cute cup monsters tonight! The boys had a blast! Here's our supply list:


Foam cup
Paint
paint brush
cup of water
tinfoil or some other... thing... to protect your painting area
pipe cleaner
googly eyes
6 triangles cut out of cardstock (teeth)
 Glue gun


First we painted  the cups. Hands down the boys' favorite part! They love painting though and would paint every day of the week if I let them. Please excuse the crazy colors in the pics. The tinfoil was reflecting my crazy orange kitchen light into their faces and it made it impossible to get good coloring.

Check out Jamesen's face, haha!


After painting, we let the cups dry for about an hour. After it was all dry, we came back to assemble the monster! We started with the pipe cleaner arms and legs. I punctured holes with some scissors first so I didn't break the cup and the boys shoved the pipe cleaners through. Great fine motor practice! 
 
 
Then we glued on the eyes and teeth. Make sure you use a low temp glue gun or you risk melting the cup! 


Finished product, yay! They look so cute sitting on my mantle. 

Don't you think? :)

Pinterest Crafts

 I had a brief hiatus from crafting for a few months while we settled in after adding Gemma to the family. We did a small handprint heart craft soon after she was born because I wanted to keep her tiny hand print forever.  We sent some to my parents for Grandparent's Day as well.


Then we stopped crafting. I was overwhelmed with life for awhile. Until Halloween hit that is! I don't know what it is about the holidays, but it makes me want to craft! I pinned a whole bunch of crafts for kids and came across a foot print ghost. It was too cute not to copy! I had originally planned for me and Sabe to also be on this canvas, but they didn't have one big enough that was long so we just kept it with the kids. I had also originally planned for it to be just ghosts, but then I got the idea for the headstones and decided to paint a very small scene around the foot prints. I topped it with ribbon to hang it up and I love it!


I love hand/foot prints if you can't tell :) I couldn't pass up the hand print spiders when I saw them on pinterest either, so we made some of those and I love how they turned out as well!!  


I've got a whole bunch more to craft with my kids in the next few weeks, so check back and follow along with our craftiness!

Monday, January 23, 2012

Paper Plate Jellyfish

We've been having some crazy stormy weather lately and have been cooped up in the house more than usual. Today we had a tornado warning so we were really stuck inside! By late afternoon, the boys were going pretty stir crazy and I was about to lose it, so I grabbed a bunch of stuff laying around my house and we made some jellyfish! I apologize for the picture quality as it was dark and stormy outside.

The boys weren't too keen on coloring the paper plates so they got a little help from mom, lol! I wanted them to be really colorful, but they were just not interested in coloring. Once we were done coloring, we stuffed and hot glued the plates together. Marcus was so excited to help me with the glue gun and Jamesen was excited too! Normally he puts up a fight, but he was all for stuffing and gluing.


Once we were done with that, I let them use the scissors to cut their ribbons. They love using scissors! I had to coach Marcus on how to use them again and then was surprised when Jamesen was able to do it after watching Marcus. The second kid really is amazing sometimes! They learn so fast from their older sibling!


After cutting the ribbon, I helped them hot glue them onto the plate. It's so funny how excited they get with the glue gun! Marcus was so cute and jumping up and down after every ribbon he stuck on, silly boy. Jamesen was surprisingly willing to glue the ribbon on. Usually he flips when he needs help and there was no way I was going to let him use the glue gun alone! When we were done, I told them it was a jellyfish and they were SO excited once I said fish. They're both pretty into fish at the moment, especially Jamesen.


They then ran around the house chasing each other with their jellyfish and taking turns tickling me with the ribbon. When daddy came home, they were so excited to show him and had a blast stinging him with the ribbon too.


Saturday, January 21, 2012

Scissor Skills hearts

It was pointed out to me that Marcus should be able to use scissors. I've never let him use scissors before so I went out and bought some and then looked up some cute crafts to help him out. He did so well! I was actually pretty impressed by how well he cut his heart out for being the first real time he's used scissors! Little champ.


In true Jamesen fashion, he flipped out when I tried to help him use the scissors. He can be such a turd sometimes, lol! Luckily though, daddy was home and was able to entice him to come back and try again. Once he got the hang of cutting, he was over zealous and almost snipped daddy's fingers a few times! Silly kid :)


Then onto the gluing! Both boys just adore gluing so they of course loved this craft! Marcus did this part all by himself again! I had to show him what to do at first but after that!


Jamesen (again) didn't really care about putting the scraps onto the heart, only about gluing, so daddy and I helped by putting the scraps where he put the glue. He had a blast, and that's all that matters!


Marcus was so proud of his end product! The only thing that I did was to cut out the the brown outline! Proud momma right here :)


And silly Jamesen didn't want a picture with his end product. He's such a pain sometimes. I sure do love him :)

Monday, January 16, 2012

Stained Glass Valentines

This one was another one that proved more difficult than it looked. At least with smaller kids! I had planned to do them with both the boys along side each other, but they were having trouble putting the tissue paper onto the glue in the right place.

J decided it was too much for him and that he'd rather play with his trains so I let him run off and play else where while I finished the project with Marcus. He did pretty well and got the hang of it, but it started out a bit rough. He kept pulling up the tissue paper he just put down with the glue stick and was a bit over zealous when putting the tissue paper down and would miss the glue entirely! Eventually he got the hang of it though.


Turned out pretty cute!

I tried a completely different approach with J as he likes the least amount of help possible and doing it the original way was going to mean a lot more help than he wanted. I just put a piece of tissue paper on the back of the black outline and let him go at it. He didn't really want much to do with the tissue paper pieces, so I let him just man the glue and I put the paper down. It got him to do the project so that's a win in my book!


He didn't want to take a picture with it though and this is the only one I got!


I hung them with two strips of tissue paper twisted together and taped to the window. I know it's early for valentine's day, but they sure do look cute!